Home Recording (On a Budget)
By Rob Wells
Thank you for asking me to write this article. Recording and producing from home is something that I have been passionate about my entire career. It is something I know a lot about, as I have made hundreds of recordings from within the walls of my home. It is my honour to share some of my knowledge with you here in this article. Hopefully something from this article lights a spark within you.
Before I dive into the ins and outs of home-based recording, I’d like to talk about the actual music itself. I think it’s important to do so.
A few years ago I was attending Canadian Music Week as a panellist. I was part of a discussion with a bunch of music producers including Tony Visconti (David Bowie). We were speaking in front of a large group of CMW attendees in the main hall. We spoke about our different experiences and approaches in producing music. At one point, we were all individually asked what our favourite piece of gear was inside the studio environment. All of the other producers went on to list their favourite pieces of gear, such as microphones, compressors, consoles, etc. When it was my turn, I said (to everyone’s disappointment) that my favourite piece of gear in the studio was the presence of an amazing song. I sincerely meant it.
Without a great piece of music to be worked on, what’s the point?
What’s the point of picking up the film camera and shooting the movie if the script isn’t great?
I don’t mean that the piece of music you’re working on has to be a worldwide number one hit—it just means that whatever music you’re working on has to move you to that exciting place that you need to record it and get it out for the world to hear. I, for example, don’t produce/record everything I work on. I wait to find what I believe to be the “great” songs and let the “good” songs act as a lesson that leads me to record what’s better. Another way to look at this is this… why not get known for only working on great material? Anything that you release is going to have your name attached to it. Everything should stand tall as your very best work. People should say your name, and associate it with great work. Bottom line, only work on the music that you truly believe in. Push aside the good, and focus on the great.
Once you’re getting into the zone of finding your great work, and you’re ready to start recording, the process begins in creating your home studio.
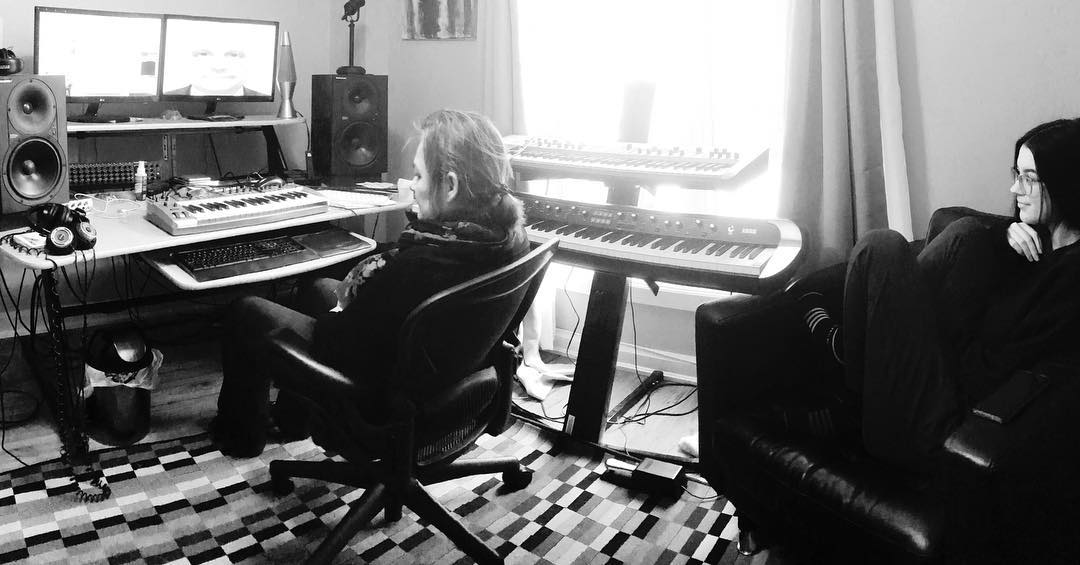
FIND A LOCATION
Step one? Finding a location within your home to set up your studio that you will work out of.
Don’t let anyone tell you that what you’re making or working in is not a “studio.” The definition of a “studio” from the dictionary is this: a room where an artist, photographer, sculptor, etc. works. That’s it! A room. A room in which you do your work. There is no one way to produce and record music. The tools, methods, and size of studio rooms are greatly varied.
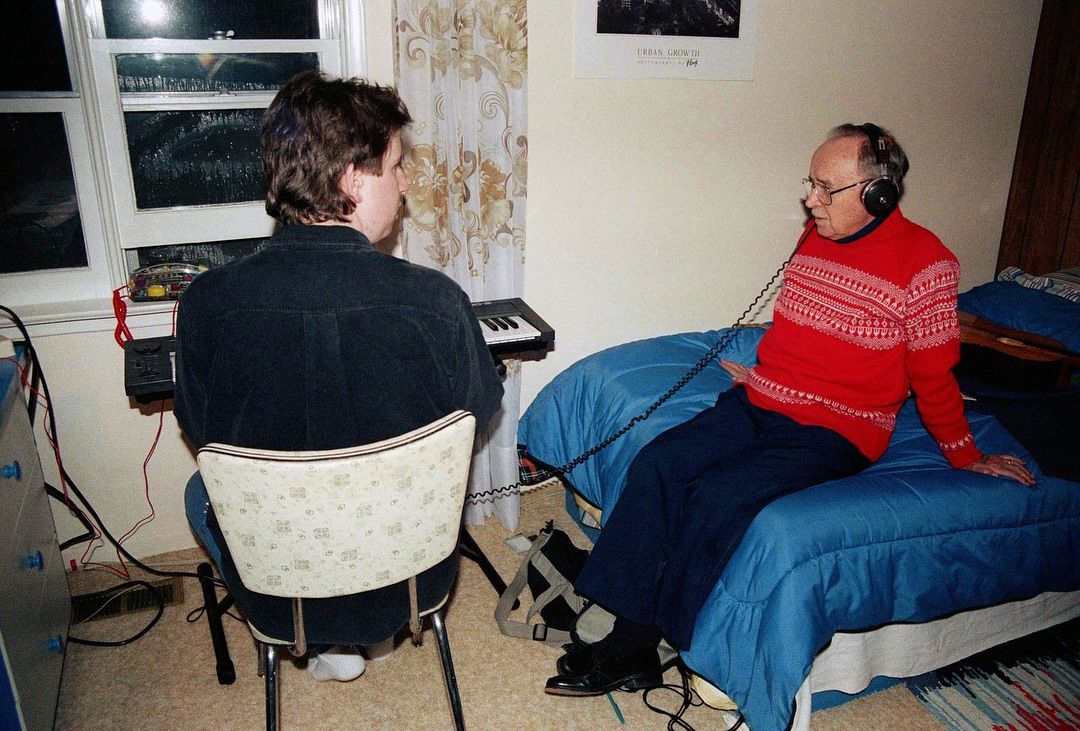
My first “studio“ was located in my parents’ basement in Don Mills, ON. It consisted of a Fostex 4-Track Tape Recorder, an Alesis Drum Machine, a Mac Classic II computer (with 8mb of RAM) running Mark Of The Unicorn’s “Performer”, a midi interface, a Roland Juno 2 keyboard, a Radio Shack stereo microphone, and a pair of cheap Tannoy speakers coupled with a pair of Sony headphones. My “studio” was set up beside where my parents watched TV at night.
My second studio was located in my first apartment. I had a slightly better computer, a Korg Triton keyboard, and an Audio Technica 3035 microphone added to my collection. It was a two-bedroom apartment located on the top floor of a four-floor building. I used the smaller bedroom that was in between the living room and the main bedroom. My neighbour below us was hard of hearing. Our apartment was beside the elevator. A perfect situation for making noise.
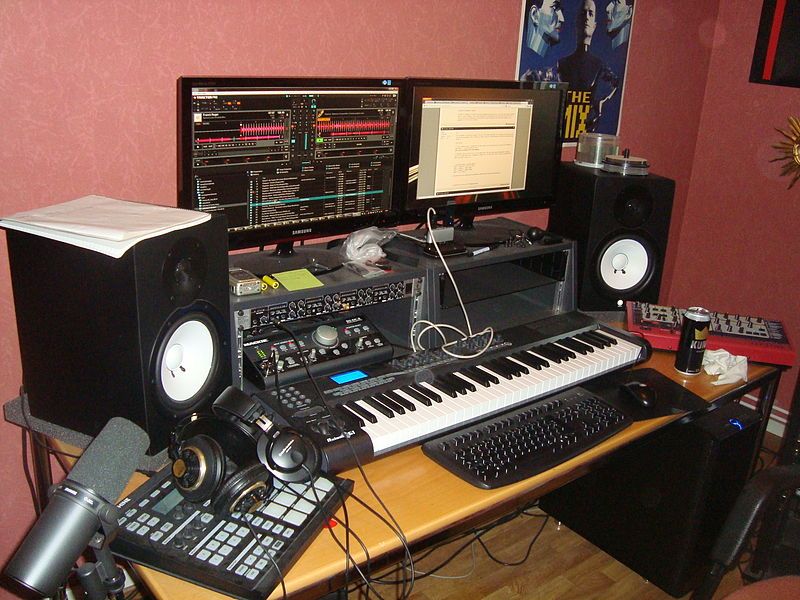
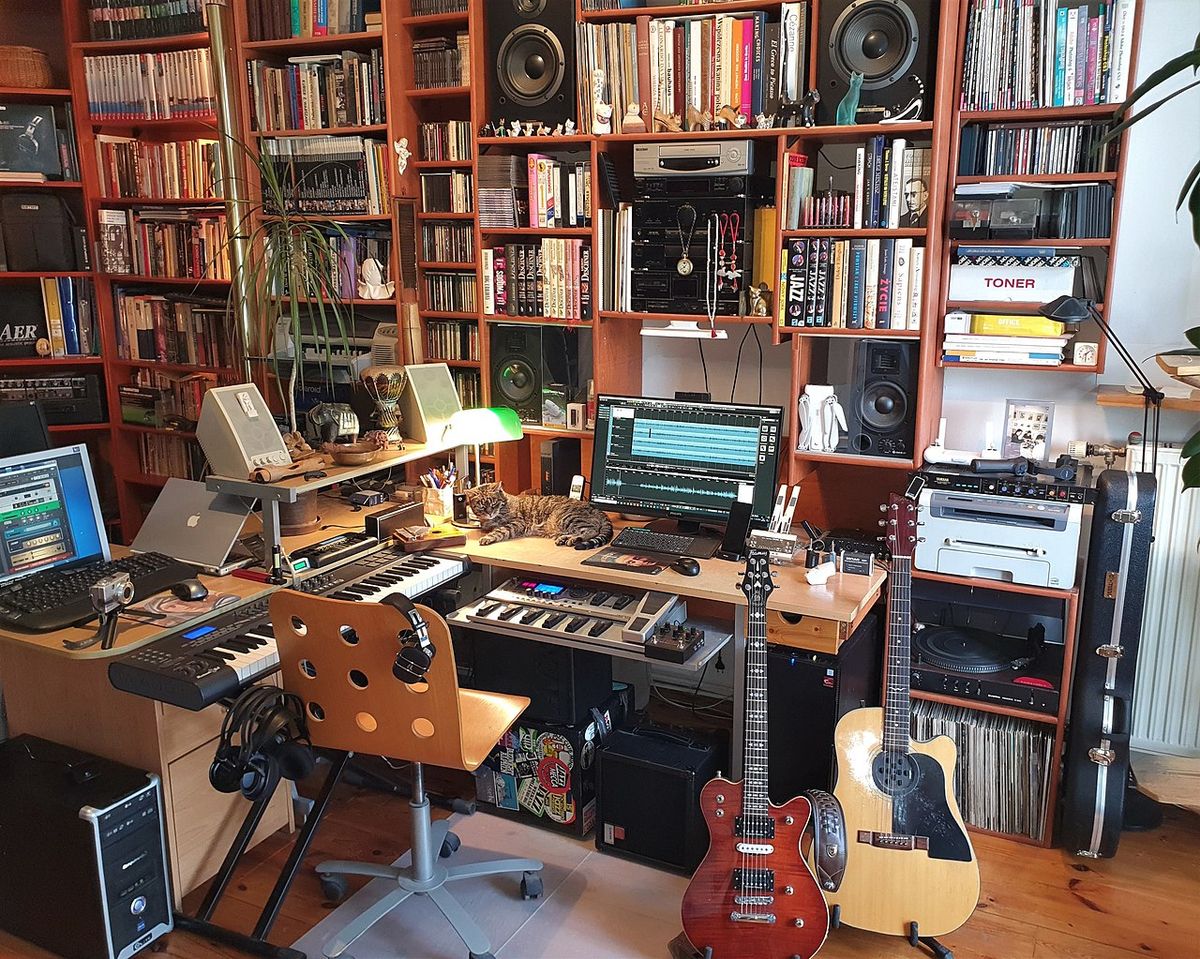
I’ve lived in three houses since my apartment days. In my current location, my studio is in a walk-out basement in the corner of a four-storey house. It’s one of our bedrooms that I’ve taken over. The closet is my vocal booth. The living room is above me. I have a beautiful window (thanks to it being a walk-out) that overlooks a forest. My gear is a lot better than it used to be, however my setup is super simple. I’ll get to that later.
The important takeaway is that your location in the home can matter. It’s important to not be in the middle of all the action with everyone else in your living space. Find a cozy corner if you’re in a bachelor/one bedroom unit. Find a place where you can focus, and make a little noise without complaints from others. If you have the luxury to take over one of the rooms in your home/apartment, do so. Even better, is to be in a situation where you get some quiet time when everyone is out of your way for a while during the day. Take what you can get, and don’t be too precious or picky about it.
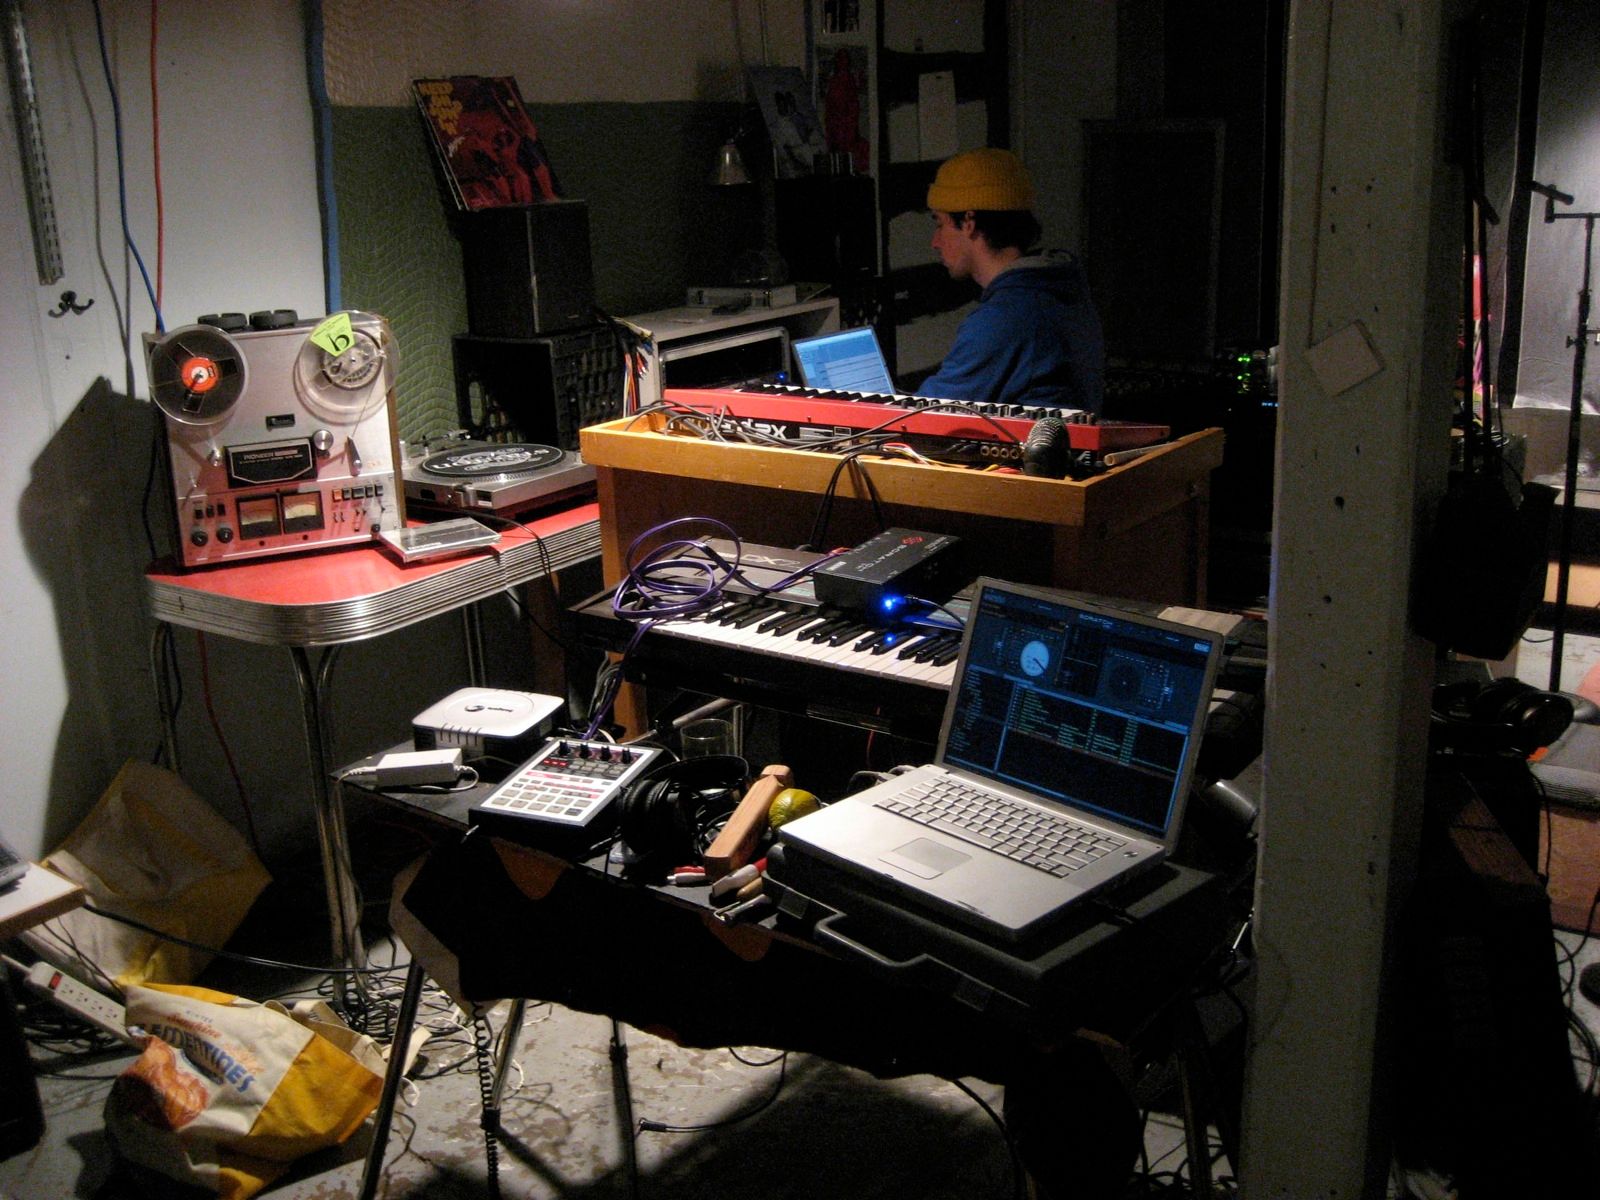
I’ve also been to some writing camps around the world where I’ve been able to create music that goes on final major label records, and these studio rooms have always been less than desirable. Hotel (if I’m lucky) and motel rooms. Janitor’s closets. Converted horse stables. Other people’s living rooms. I was once writing in a room in a castle in France that was overrun by ants. The point is, I was able to make it work, as long as I had a dedicated space that was out of the way of others. I was able to set up a minimal amount of gear to do what I needed to do to get these musical works recorded.
KEEP IT ON THE QUIETER LEVEL
Once you have your location set where you live, it’s important to learn how to keep things quiet for those times when others are around, having zoom calls or possibly sleeping.
I’d start with soundproofing your space. If you have a separate room to use as your studio, I’d look to put some acoustic wall panels up in various positions to soak up some of the sound waves bouncing around your room. I personally have used panel kits from Primacoustic (www.primacoustic.com) and they’ve worked wonders.
I’d look at obtaining a pair of great monitors for your studio. I have always loved the Mackie HR824 monitors (MK1) as they represent all frequencies perfectly. I can keep the volume on the quiet side, and still hear all the low end that I need to feel the earth rumble. I bought a pair a few years ago from Facebook Marketplace for $400. They were perfect. Not everything you purchase has to be new. I’m a huge advocate for buying used equipment as long as it's been looked after well.
I’d also look at obtaining a great pair of headphones that won’t exhaust your ears after a few hours of use. I personally use headphones from Grado Labs, specifically the SR325 model. They sound just as good as my monitors, and I’m able to do full blown production and mixing with them when the rest of my family is asleep. Believe it or not, I’ve been using the same pair since 2003. Yes, they’re that great! They come in at about $400 brand new.
I choose to use virtual instruments for almost all of my work done here in my space (minus vocals and guitars). That way, I don’t have anyone banging on drums or an upright piano at a time when it can be interruptive to others. If any of my songs require the extra step of using real instruments, I’ll go to a proper studio to record them, or have acquaintances of mine record their parts at their own space and send me the files.
I have also learned how to listen quietly. Not only does it protect my ears, it saves the sanity of others around me. I can be listening to the loudest instrumentation, but at a greatly reduced volume.
PROTECT YOUR REAR END
A home studio needs a good chair. I’ve been at some places where the chair I’ve been given makes my rear end feel like a hard and painful rectangle after a few minutes of using it. Not fun! If you’re going to be sitting for hours on end, it’s important that it’s a pleasant experience for your back and lower end. I’ve been using the same chair since 1999. It’s the Herman Miller Aeron chair. I paid close to $1500 for it back in the day, and it’s been 100 percent worth it for my health and sanity. It’s comfortable beyond measure, and it lets my skin breathe with its mesh covering. If I do the math, it’s been $62 per year that I’ve been paying for sitting in this chair. Not too bad if you look at it from that angle. It’s worth every penny!
SWEET VOCALS
Getting a great vocal (if your song has one) is just as important as having a fantastic song, in my humble opinion. Without it, your song will fall flat. That doesn’t mean that you have to have the most expensive microphone and all the other bells and whistles that could end up costing you hundreds of thousands of dollars. A great vocal can be achieved with very minimal equipment, as long as you get a fantastic performance that connects emotionally. No amount of gear will get you more emotion out of your vocal. No amount of gear can change the fact that it sounds like the singer is reading off the lyric sheet.
At the very least for your home studio, you could be getting a microphone such as an Audio Technica 2020. They sound great, and you can achieve a lot with only spending $150 for it. I personally use a RODE NT2A mic for vocals, and an AKG D3800 mic for zoom/communication over the computer. Of course, you will also need a good pop screen for your microphone, a mic cable, a mic stand, and an audio interface to connect to your computer if you have one. You can start with something simple in the audio interface world, such as a Focusrite 2x2. I personally use Steinberg’s UR-RT2 audio interface, and I love it (including the Rupert Neve Transformers built in). If you’re on a strict budget and you’re trying to create a vocal booth in the middle of your room, get a couple of clothing racks, position them in a V shape, and drape blankets over them with your microphone in the direct centre of this contraption. Or record vocals inside your closet with your microphone sitting between all your shirts and sweaters. If you want to get really fancy and spend more money, you can do what I did, and convert one of your closets over into a comfortable vocal booth. Basically, you’re trying to eliminate sound waves from bouncing around the room once again, resulting in a nice, dry vocal recording. As before, these items can be purchased second-hand from Facebook Marketplace or elsewhere. I’ve been able to purchase a ton of used gear from Long & McQuade locations across Canada.
RECORD IT
The next step is to have something to record all of this information you are creating. I started with a 4-track in my late teen years. That’s not entirely true… I started with a reel to reel machine with my brother when we were kids. I went from that, to a Macintosh Classic II computer in the early 90’s. I graduated to a higher end Mac close to 1996, and I have been on Windows based computers since 2000. Don’t let anyone tell you that you can’t make music on a Windows based computer, as I’ve been doing it for the past 23 years.
If you’re using a computer, you will have to use what they call a DAW. Digital audio workstation is what it stands for. These programs allow you to record audio, MIDI, use effects, mix, master, etc. Some DAWs include Logic, Cubase, ProTools, Ableton, FL Studio, Studio One, Reaper… the list literally goes on and on. It doesn’t matter which DAW you choose. All that matters is how you choose to use it. All that really matters is your imagination and the ideas that you have in which you can achieve your creations. They all pretty much do the same thing under different names.
In order to really stand out from your competitors, I would choose to use virtual instruments that sound incredible. I would always shy away from using the stock virtual instruments that come with each DAW.
For pianos, I’m a lover of the company called “Imperfect Samples.” They have fantastic virtual pianos that run on Kontakt. My favourites are definitely the “Steinway Walnut Grand” and the “White Baby Grand.” They’re relatively inexpensive as well.
For guitars, I love Native Instruments' “Strummed Acoustic” line, as well as Native Instruments’ electric guitar selections. Easy to use and they sound fantastic.
For drums, I use Splice for what is called “One Shots.” Splice is great for downloading individual samples from fantastic drummers worldwide, as well as electronic drums and samples from DJs and producers worldwide. Splice is available for subscription with a small monthly fee.
For strings, I use Miroslav Philharmonik 2, Abbey Road One, and many others. I tend to layer string parts together from multiple sources to get great textures.
For synths, I use the Arturia v9 collection.
For plugins and effects, the WAVES plugin series is pretty amazing, and only getting better as the years go on.
I could go on and on, but if you start using these virtual instruments, your demos and productions will be sounding incredible in no time at all. If your song gets selected to go on a record, and the label or artist wants to use parts from your demo, you can always replace the virtual parts with the real thing once you’re given a budget.

SET YOUR HOURS
I’ll end with this. It’s important that you treat this home based studio like a business. It’s important to set up hours and expectations for the rest of your family. For me, I shut everything down at 6 p.m.. The danger of having the studio at home means that I can return to it at any point, without having to hop into my car.
You could end up becoming like the Absent-Minded Professor, and spending all of your time in your home based studio. This can lead to unpleasant feelings with your other housemates/family members. It can also lead to burnout.
Find the hours that work for you, and the people you share your space with. Stick with it, no matter what. If there’s a crazy deadline that needs to be attended to, then come to an agreement with those around you. If you live on your own, and have no friends or relationships, then do however you please… just don’t miss out on all the great things that life offers outside of your studio! Set limits and you’ll be much happier for it!
Rob Wells is a multi-platinum award winning music producer and songwriter.
He can be reached at robwmusic@gmail.com.